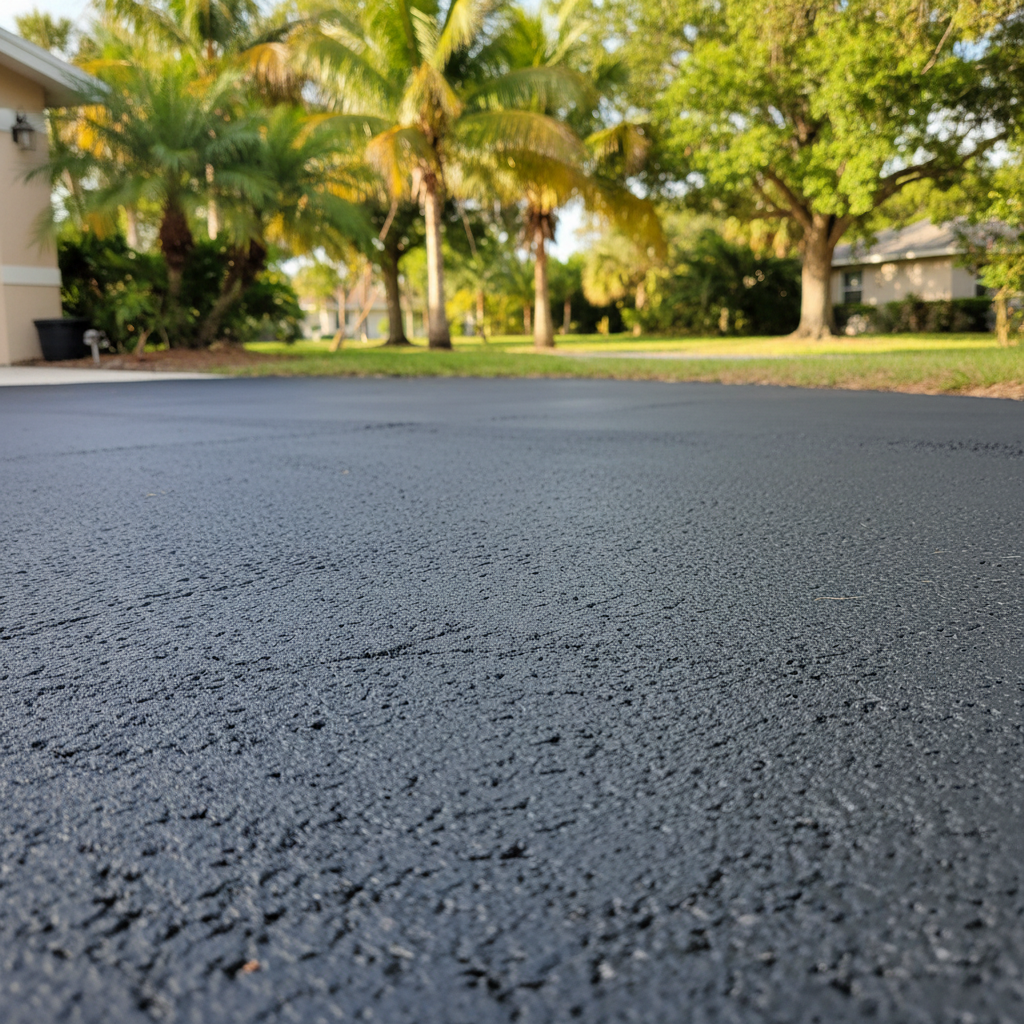
Alright, let's talk about slurry coating. You've probably seen it before – that fresh, dark finish on driveways that just makes everything look sharp. It's a great way to extend your asphalt's life and give it a real facelift. But what exactly is it? And is it something you can tackle yourself, or should you just pick up the phone and call a pro?
What Exactly Is Slurry Coating?
Think of slurry coating as a heavy-duty protective layer for your asphalt. It's not just paint, you know? It's actually a mix of asphalt emulsion, fine aggregates (like sand), water, and some other additives. Once it dries, it forms a tough, durable surface that shields your existing asphalt from UV rays, water getting in, and all the general wear and tear that comes with our South Florida climate.
It's thicker than a typical sealcoat, which means it can fill in those smaller cracks and imperfections a bit better. Plus, it gives your driveway a uniform, black appearance, making it look almost new again.
Before You Even Think About Coating Anything
This is where a lot of folks mess up, honestly, thinking they can just slap some stuff down. Preparation is absolutely key, and I really can't stress that enough. If you don't prep things right, that slurry coat isn't going to last, and you'll be kicking yourself later.
- Clean, Clean, Clean: Your driveway needs to be spotless. I'm talking about sweeping off all loose debris, blowing off dirt, and then pressure washing it. Get rid of any oil stains, grease, or anything else that would stop the slurry from bonding properly. For oil spots, you'll need a good degreaser and a stiff brush. Rinse it thoroughly, of course.
- Repair Cracks and Potholes: Slurry coating isn't some kind of miracle worker for big problems. Any cracks wider than, say, a quarter-inch, or any potholes, need to be fixed first. Use an asphalt crack filler for the cracks and cold patch for potholes. Let those repairs cure properly – that can take a few days, depending on the product and the weather.
- Check the Weather: This is huge in Sunrise, isn't it? You need at least 24-48 hours of dry weather with temperatures consistently above 50°F (and ideally not scorching hot; 75-90°F is perfect). Doing this in the middle of our summer downpour season is just asking for trouble. You don't want rain washing away your hard work, and it needs to cure properly.
- Measure Your Area: Figure out your square footage so you know how much material to buy. Don't skimp; it's always better to have a little extra than to run out halfway through.
DIY vs. Calling All Star Asphalt
Okay, so can you do this yourself? For a small, perfectly maintained driveway with minimal issues, maybe. If you're handy, patient, and have a good eye for detail, you could probably manage it. You'll need to rent or buy a squeegee, brushes for edges, and the slurry material itself. It's a lot of physical work, though, and getting an even coat takes practice.
However, for most driveways, especially those with more than a few minor cracks, or if you've got a larger area, I'd strongly recommend calling in a professional. Here's why:
- Equipment: We've got the right equipment to mix the slurry consistently and apply it evenly, often with specialized squeegee machines that ensure a uniform thickness.
- Expertise: We know how to handle different types of existing asphalt, how to deal with tricky drainage areas, and how to get the right coverage without leaving thick puddles or thin spots. We've literally seen it all, from driveways in Plantation Acres with their unique soil conditions to the more suburban layouts around Sawgrass.
- Time and Effort: This isn't a quick afternoon job. It's really labor-intensive, and if you do it wrong, you're looking at a mess that's hard to fix.
- Longevity: A professionally applied slurry coat will generally last longer and look better than a DIY job, simply because we've got the experience and the right tools.
During the Application (If You're DIYing)
If you're going for it, here's the gist. Block off your driveway so no one drives on it. Start at the highest point and work your way down, or from the back of the driveway towards the street. Pour a manageable amount of slurry onto the surface and use your squeegee to spread it evenly. Don't go too thick, but make sure you're getting good coverage. Overlap your passes slightly. Pay extra attention to the edges, using a brush if needed. You'll likely need two coats, letting the first one cure for several hours (or overnight) before applying the second.
After the Slurry Coat is Down
This is crucial. You absolutely need to stay off that driveway. I mean completely off. No cars, no bikes, no walking on it for at least 24-48 hours, sometimes longer depending on the humidity and temperature. It might look dry on top, but it needs to cure all the way through. Driving on it too soon will leave tire marks and can damage the fresh coat, undoing all your hard work.
Once it's fully cured, you've got a beautiful, protected driveway. To keep it looking good, a simple sweep and occasional rinse are usually enough. You'll want to re-evaluate it every few years, but with a good slurry coat, you're adding years to your asphalt's life.
So, there you have it. Slurry coating is a fantastic investment in your home's curb appeal and the longevity of your asphalt. Just make sure you're either doing the prep work right or you're calling in a local expert like All Star Asphalt to get the job done properly.