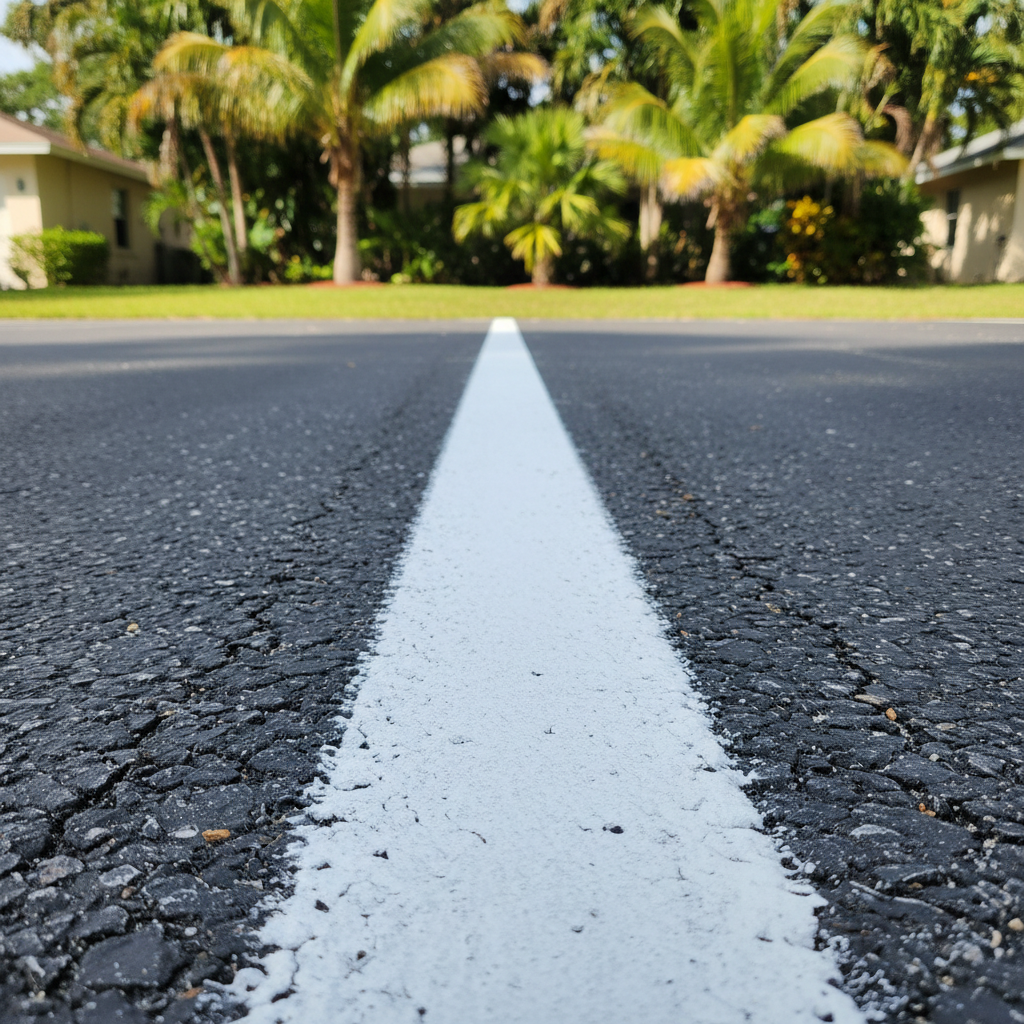
Ever looked at a freshly striped parking lot and thought, "Hey, I could do that"? Maybe you've got a private driveway, a small shared access road, or even a basketball court you want to mark out. Asphalt striping seems pretty straightforward, right? A little paint, a little tape, and you're good to go. Well, it can be, but there's actually more to it than just slapping down some lines. As someone who's seen a lot of asphalt in Sunrise — from the older neighborhoods around Welleby Park to the shiny new developments — I can tell you there's definitely a right way and a wrong way to stripe.
Before You Even Think About Painting
First things first: check out your asphalt. Is it in good shape? If your asphalt is cracked, crumbling, or full of potholes, striping it is kind of like putting a fresh coat of paint on a rusty car. It'll look okay for a minute, sure, but it won't last, and you're just hiding bigger problems. You really need a clean, stable surface. Got oil stains, loose gravel, or dirt? You'll need to clean that up thoroughly. A power washer can work wonders, but make sure the surface is completely dry before you even think about paint.
Next, think about how big your project is. Are we talking about a single parking spot or a whole private cul-de-sac? For a small, simple job, like marking one parking space or a basic game court, doing it yourself might be totally doable. You can rent striping machines or even use a good quality spray paint kit with stencils. But for anything more complex — say, multiple parking spaces with directional arrows, handicap symbols, or fire lanes — you're quickly heading into pro territory. Precision really matters here, and those lines need to be straight, consistent, and up to code if it's a commercial or multi-unit property.
Choosing Your Materials Wisely
Don't just grab any old paint from the hardware store, okay? You need traffic paint, also known as pavement marking paint. This stuff is made specifically to handle vehicle traffic, those strong UV rays (and we certainly get plenty of those here in South Florida!), and general wear and tear. It dries fast and sticks really well to asphalt. You'll find it in various colors, but white and yellow are the most common for parking and traffic control. Some paints are water-based, others are solvent-based. Water-based is easier to clean up, but solvent-based often gives you more durability. Read those labels carefully!
For application, if you're doing it yourself, you'll need:
- A good quality paint sprayer designed for striping, or at least a durable roller and brush for stencils.
- Measuring tape and a chalk line for keeping your lines straight.
- Stencils for symbols (handicap, arrows, numbers).
- Safety cones or barriers if you're working in an area with traffic.
Remember, a little prep goes a long way. Mark out your lines with chalk first. Measure twice, paint once. Nothing looks worse than crooked, uneven stripes, does it?
During the Striping Process
Weather is a huge factor, especially here in Sunrise. You really don't want to be striping right before a summer afternoon downpour. The surface needs to be dry, and the temperature should be within the paint manufacturer's recommended range. Typically, this means it should be above 50°F (10°C) and not too humid. If you paint on a wet surface or when it's too cold, the paint just won't stick properly and will peel or fade quickly.
If you're using a striping machine, practice on a scrap piece of cardboard or an inconspicuous area first. This helps you get a feel for the spray pattern and speed. Consistent speed is absolutely key to getting an even line. For stencils, make sure they're held down firmly to prevent bleed-through. It's a bit of an art form, honestly, to get those crisp, clean edges.
After the Paint Dries: Maintenance and Knowing When to Call All Star Asphalt
Once you're done, let the paint cure completely before letting traffic back on it. This can take anywhere from a few hours to a full day, depending on the paint type and weather conditions. Check the product label for specific drying times. Good striping can last for years, but eventually, it will fade, especially in high-traffic areas or under constant sun exposure. When you see fading, it's time to re-stripe.
So, when do you call a pro like All Star Asphalt? Anytime you need precision, durability, and compliance. If it's a commercial property, a multi-family complex, or even a large private estate with complex parking needs, a professional striping job ensures everything is up to ADA standards, fire codes, and just looks sharp. We've got the specialized equipment, the experienced crews, and the knowledge of local regulations to get it done right the first time. We can also advise on layout optimization for better traffic flow and parking efficiency.
For a small, personal project, go for it. It's a satisfying DIY. But for anything that needs to stand the test of time, look professional, and meet specific standards, save yourself the headache and bring in the experts. You'll be glad you did.